Project Ideas
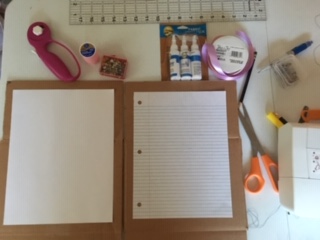
I love to start a new project, but unless I have an organized area and have my materials accessible, completing the project can be frustrating. First, it is important to have the supplies in a convenient place. Once I start, I do not like to start searching for the supplies, so a dresser or plastic containers with drawers is helpful. Second, I like to have some idea or theme for the cover, but usually my supplies and scraps direct the design. The following are the supplies I used for my journal:
- cardboard
- paper
- glues for paper and fabric
- cutting tools
- fasteners
- thread and needles or sewing machine
- measuring tape or ruler
Trim your cardboard to the size you want for your journal. For this one, I made it the size of the paper I had available. Next, gather your fabric or decorative papers, and line up the paper to fit the size of your cardboard. When sewing the covers, be sure and add at least 1/4 inch on all sides.

After sewing your covers, punch holes in the cardboard for your rings or fasteners. Next use rings or tie it with ribbon or other materials. In fact, journals can be made from old book covers or notebooks. So be creative and use what you have available.
Gift Journals
When I finished the journal above, I had some leftover cardboard so decided to make another journal as a gift. This journal was smaller and I had used all my rings, so I decided to cut the paper and sew the pages together.

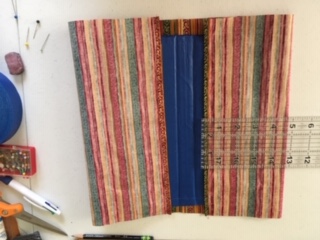
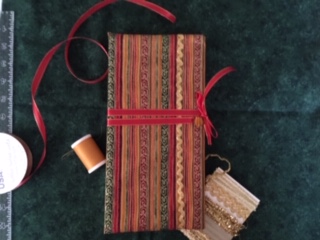
Measure the material and make flaps for book covers. Sew the top and bottom flaps, and miter the corners. Turn the material right side out and fit book inside. Cut the paper to fit the book, and either sew the pages or glue them. The following is a finished product.
Get Started

However, if that is too much for now but you want a journal, you can purchase one from someone else or just decorate a regular notebook. Three-ring notebooks work well for organizing ideas. So just get started.
